RELIEF PRINT

Relief printing is a method where a printing block, plate or matrix that has had ink applied to its surface, but not to any recessed areas, is transferred to paper.
Here’s how I came up with this project…
Back in 2014 I was student teaching and I had several classes of 5th graders make one-color relief prints of their favorite foods. There were many awesome prints of pizza, hot dogs, ice cream, etc. We used construction paper, scissors, glue sticks, sponge brushes, and tempera paint. The kids loved the project and it was a very cheap and simple way to make prints. Now, years later, I decided to take the relief print project one step further and use multiple colors.
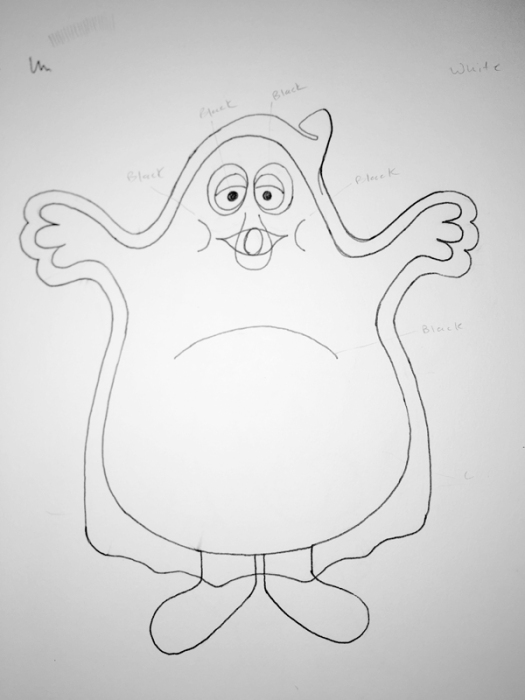
The subject matter I used for this project is a very recognizable purple monster from a giant fast food corporation which will remain nameless, but they can supposedly stack hamburgers all the way to the moon or something like that. While visiting my parents house recently, my kids unearthed a box of random toys. Among the toys was a plastic “meal box” toy of the unnamed purple monster wearing a white sheet/dressed up as a ghost. I liked it and it gave me the idea to make a set of relief prints featuring altered versions of characters from this unnamed fast-food restaurant. This is the first one…
What you will need: chip board(or matte board), glue, pencil, Xact-O knife, carbon paper, blue painters tape, Mod Podge, print roller, tempera paint, sponge brush.
Below are step by step instructions to make your own multi-color relief print.
1) Pick a paper and paper size to use for your prints. I used a 50-sheet pad of 14″x17″ Strathmore 70lb. Drawing paper. Draw your image to scale.
2) Make a sheet of carbon paper roughly the same size as your paper size. Use scotch tape to tape sheets together to create a larger sheet if necessary.
3) Make sure your paper, carbon paper and chip board are all the same size. Place your materials in this order: Chip board on the bottom. Carbon paper in the middle, and your drawing/art on top.

4) Use your pencil to trace over your original drawing. Remember, you are going to print multiple colors so only trace the parts of the drawing for each corresponding color.

5) After you have traced your image, remove your drawing and carbon paper. Your image should have transferred onto your chip board.

6) Use an Xact-O knife to cut out your image.

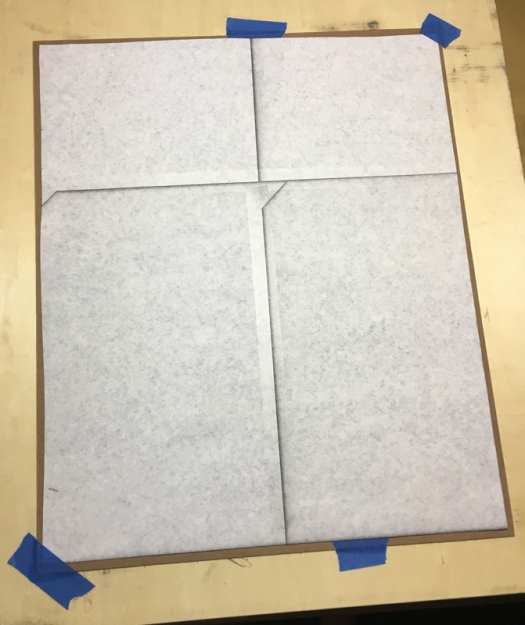
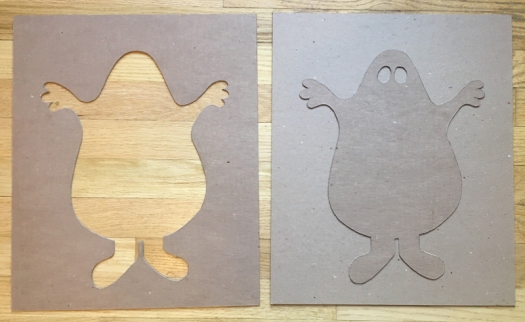
7) Use the excess chip board and line it up with another sheet of chip board that will be your base. Use blue painters tape to tape the 2 sheets of chip board together(this will ensure that all of your colors will line up later).

8) Apply glue to the entire surface of the BACK of your cut-out piece and insert it into the the two taped-together sheets of chip board like a puzzle piece.

9) Take off the blue painters tape and carefully lift of the top excess sheet of chipboard, leaving your chip board base sheet and cut-out shape. This will for here on out be referred to “the printing plate”. Set aside to dry.
10) Spray the printing plate with a fixative.

11) Use a foam brush to apply a healthy amount of Mod Podge to the surface of your printing plate(this works as a sealant and will keep the chip board from soaking up wet tempera paint and falling apart).

12) Use blue painters tape to tape the bottom color/first printing plate to a flat surface such as a table. Tape down anything raised with a flat surface(CD cases work great!) next to the top and both sides of the printing plate(this will make sure your paper lines up to your printing plate).

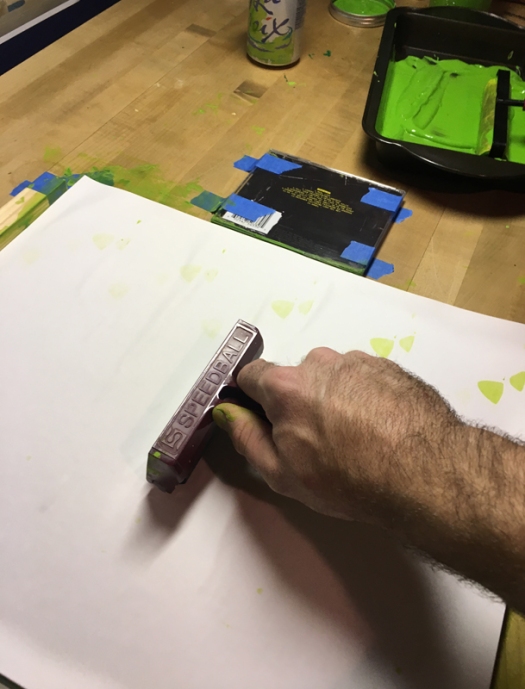
13) Pour tempera paint into a flat pan. Use a roller or a sponge brush to apply paint to the print surface.


14) Line up paper to printing plate and use a roller to transfer the ink from the printing plate to the paper.
15) Carefully peel off the printed paper sheet and lay on any available flat surface to dry. Paper drying racks or wire clothes line/paper clips are ideal, but the floor works too.

16) REPEAT THE SAME PROCESS TO CREATE AND PRINT EACH PRINTING PLATE.
Here is a photo of my finished print.